We will create central ingress and egress using AWS Network Firewall and Transit Gateway. This will use a hub and spoke model where the networking account TGW and Network Firewall are set as the hub, and any other AWS account like development, production, or Staging account would be its spokes.
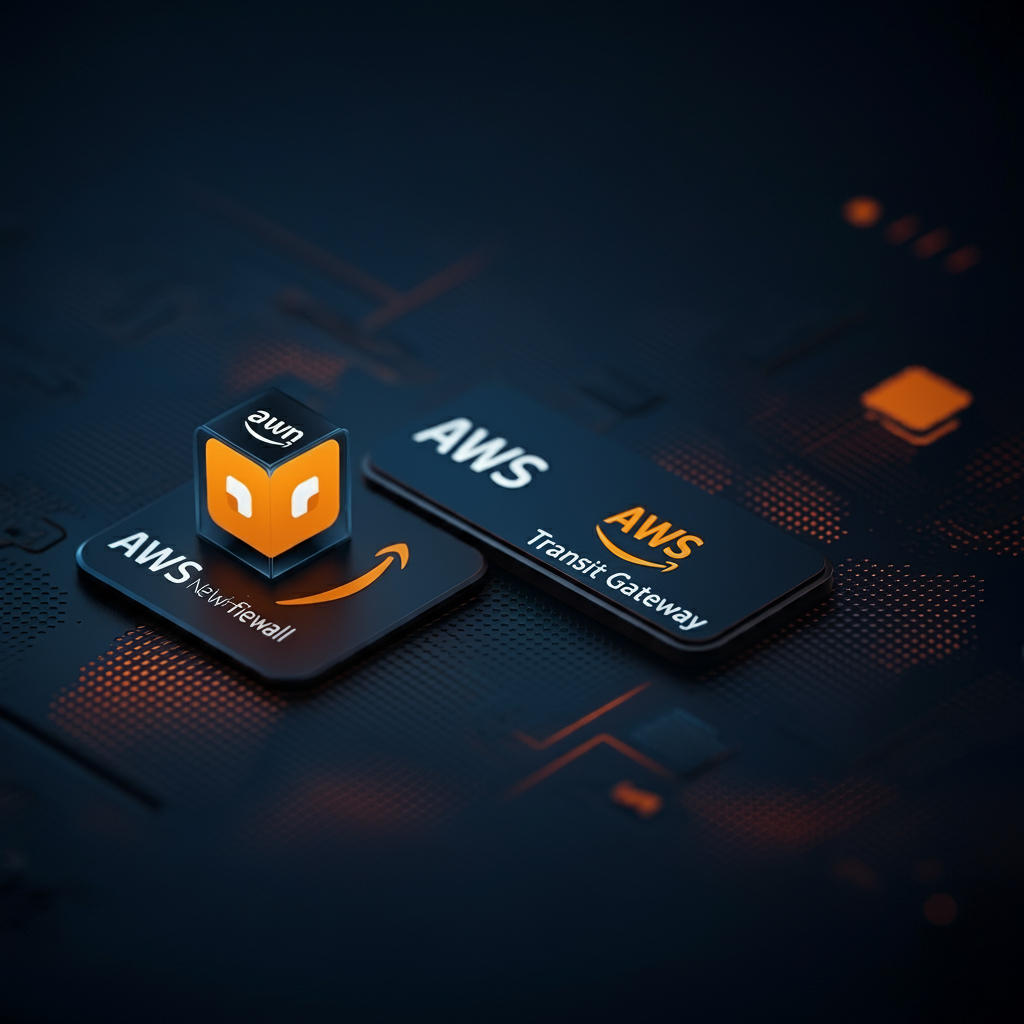
Let's look at a diagram of what we are trying to do here and then move to some pros and cons of this system.

In the diagram, you will see three AWS accounts: production and development as spokes and Networking as the hub.
All of this can be done in one AWS account. We can look at the benefits of having multiple accounts vs. all in one account. Let's have a look at the pros and cons.
Pros:
- Having a central ingress and egress lets you know where your data is going and where your data is coming from.
- Having a central ingress and egress lets you know where your data is going and where your data is coming from.
- The networking account is a DMZ (demilitarized zone), which almost all security frameworks such as NIST, HITRUST, SOC2, and more ask for DMZ.
- No IGWs (Internet Gateways) and NATs ( Network Address Translation) in all the spoke accounts prevent data exfiltration.
- Provide good insights into how much data is going in or out of the environment, allowing us to put CloudWatch alarms for data exfiltration.
- Separation of accounts allows you to separate duties between networking people and DevOps folks.
Cons:
- Overhead management if you have a small team of one person.
- There is an added cost of data transfer.
- Added complexity of network management.
The pros outweigh the cons. To get started, let's create three accounts using AWS Organizations. You can use accounts if you don't already have them. Generally, you should use a non-workload account as your management account, which will house AWS IAM Identity Center (SSO) and AWS Organizations, AWS Control Tower (if using), and can be used for consolidated billing.
Go AWS organizations:

Enable organizations, and once enabled, the current account will come into your management account. Click the "Add an AWS account" button. You will need an email for this account. I created an alias for my email account for each account.

Click Create AWS account. It will take a few minutes, and your account will be created. I'm assuming you are already using AWS IAM and the identity center. If not, you will need to set that up, and that setup is outside the scope of this tutorial.

Once your accounts are ready and you have assigned AWS permissions via AWS IAM and Identity Center, it should look like the screenshot below.

In conclusion, we have created three accounts using AWS organizations, and you are prepared to move to part two, where we will create the VPCs, TGW, Network Firewall, and all the routes. Part three will be testing, ensuring everything works, and applying rules to the AWS networking firewall. In Part Four, we will create CloudWatch alarms to prevent data exfiltration.